
Working in red tinted near darkness we carefully prepared to turn a flat piece of tin into a one-off slice of time. Collodion solution is poured and distributed thinly and evenly first. The collodion covered plate is then immersed in a bath of Silver Nitrate solution to become light-sensitive before loading into a light-tight plate holder.
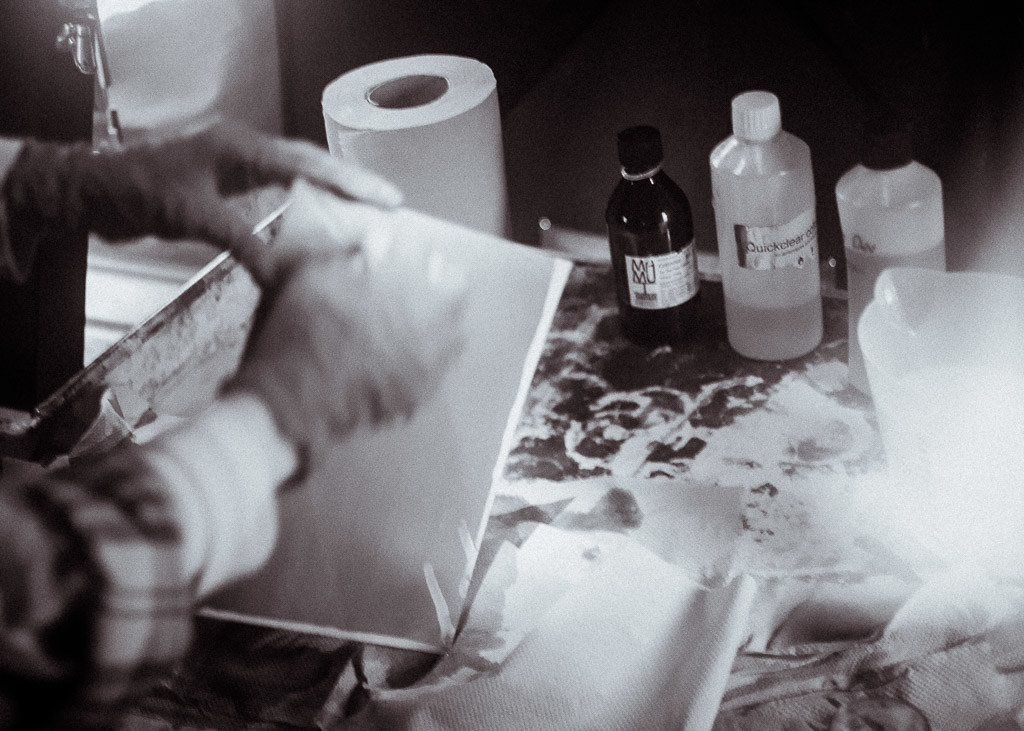
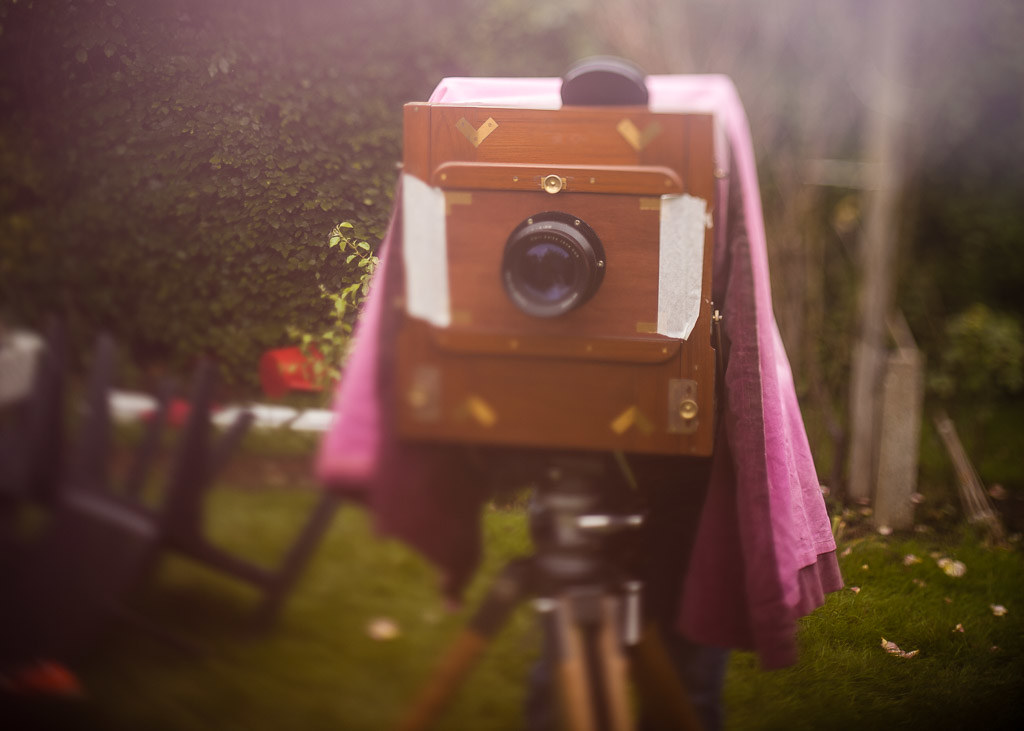
All this is before you even get to the camera. It's called "wet plate collodion" because the wet plate cannot be allowed to dry at any point in the process. If you're smart, you'll have briefed your model (ie obliging wife) before preparing the plate. It's easier to wrangle a model and an 8x10 plate camera into position to compose and an image on a back-to-front ground glass plate without the pressure of your medium of choice drying out at your feet!
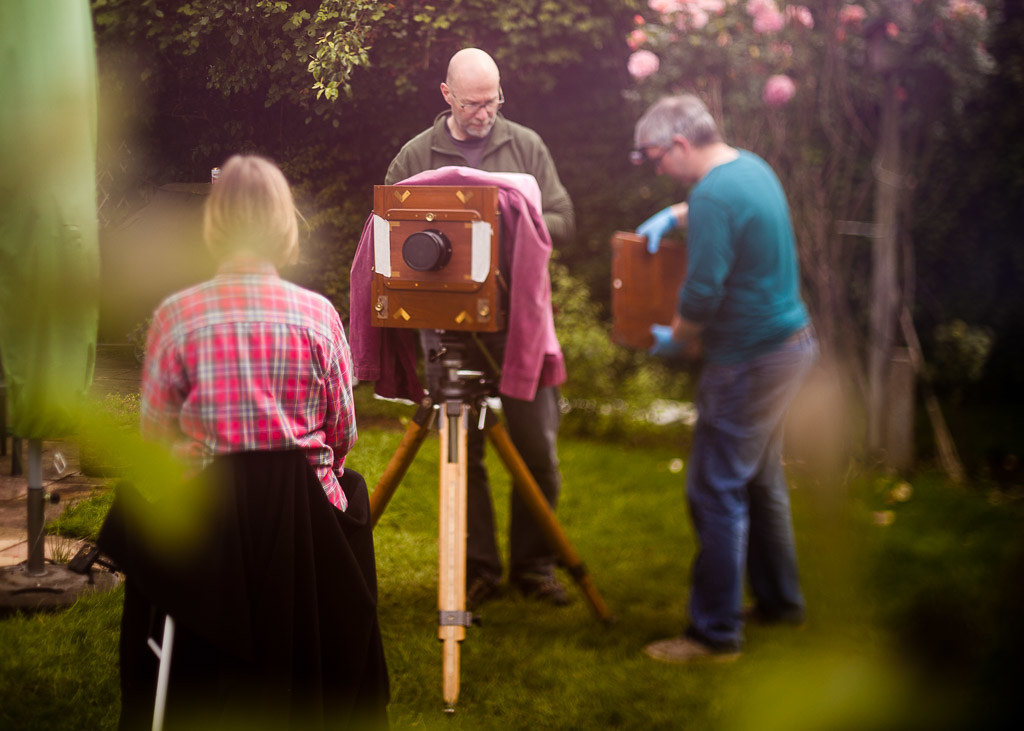
So, with plate prepared, scene composed, model holding position, wet plate in the camera, and the lens cap firmly on, it's nearly time to take the shot. One last check of exposure using a light meter or handy mobile phone app (modern technology is allowed) and we have an exposure time of 10 seconds. (The ISO speed equivalent of the collodion process is generally taken to be ISO 5 (ish) so even on a bright day, exposures times are measured in whole seconds.) And… 3..2..1.. Lens cap OFF… one-thousand-and-one… one-thousand-and-two………..one-thousand-and-ten.. Lens cap ON
And back into the dark room (or, in our case a very sturdy, dark red, ice fishing tent) to remove the plate from the holder for more careful pouring. This time developer has to be distributed over the exposed plate as quickly and evenly as possible to avoid over/under developing different areas. It's imperceptible at first, but when it starts the image seems to accelerate towards black. It's a mesmerizing process, so it was good to have Gordon, our helpful instructor, on hand to yell "Now. Stop it now!" as a reminder to stop the development by sluicing water over the plate.
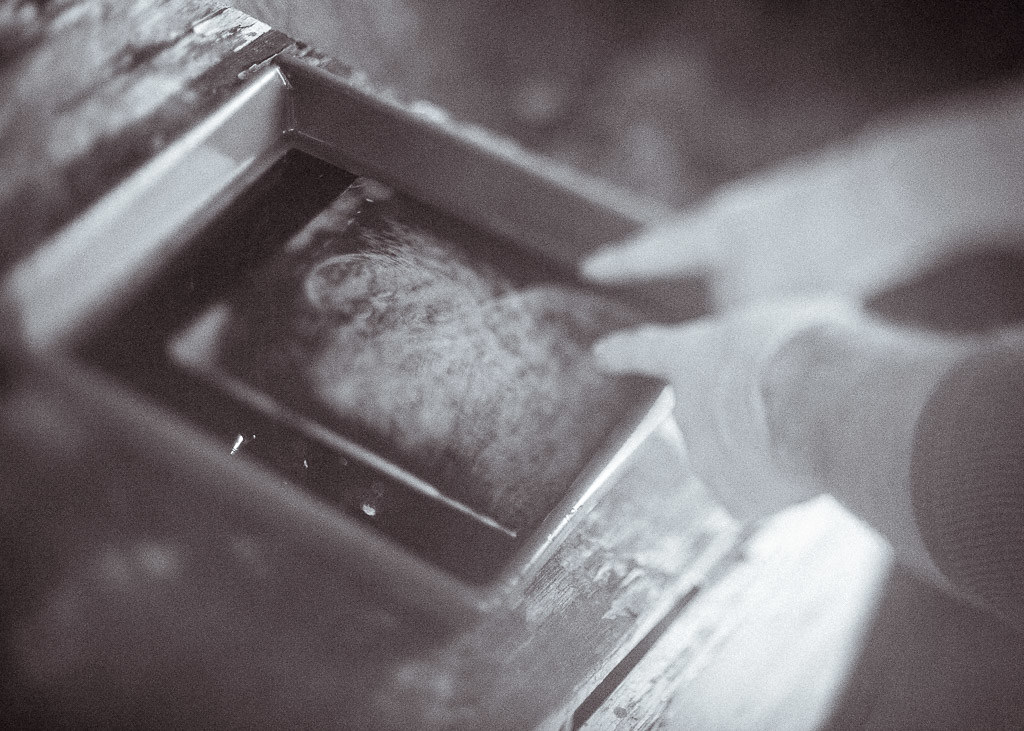
The plate and image can now be viewed in daylight and if everything has gone to plan, fixed to prevent any further development and thoroughly rinsed and dried.
Switching from cameras that can shoot up to 10 frames per second and show the results instantly to a process that works around 1 frame per hour is a big change. But it’s a change that forces you to slow right down and consider all the details and parameters before (hopefully) changing the significance of that small sheet of tin (or glass, other wet-plate media are available). It also made me remember that the satisfaction of taking/creating pictures is the same regardless of the medium, and that there is a lot of fun to be had in investigating all the different routes to those final images.
So, a huge thanks to Gordon (and Melanie) for both the access to the kit, and the time and patience in walking us through the ins and outs of the wet-plate collodion process.
Finally, as it was a day of "alternative" processes, I documented the proceedings by freelensing all my images with a5D mkII and my busted old 50mm f1.8 at ~ISO12800(!) The full set from the day is on flickr here.
No comments:
Post a Comment